
Gordon Installation Guideline
Components in your box
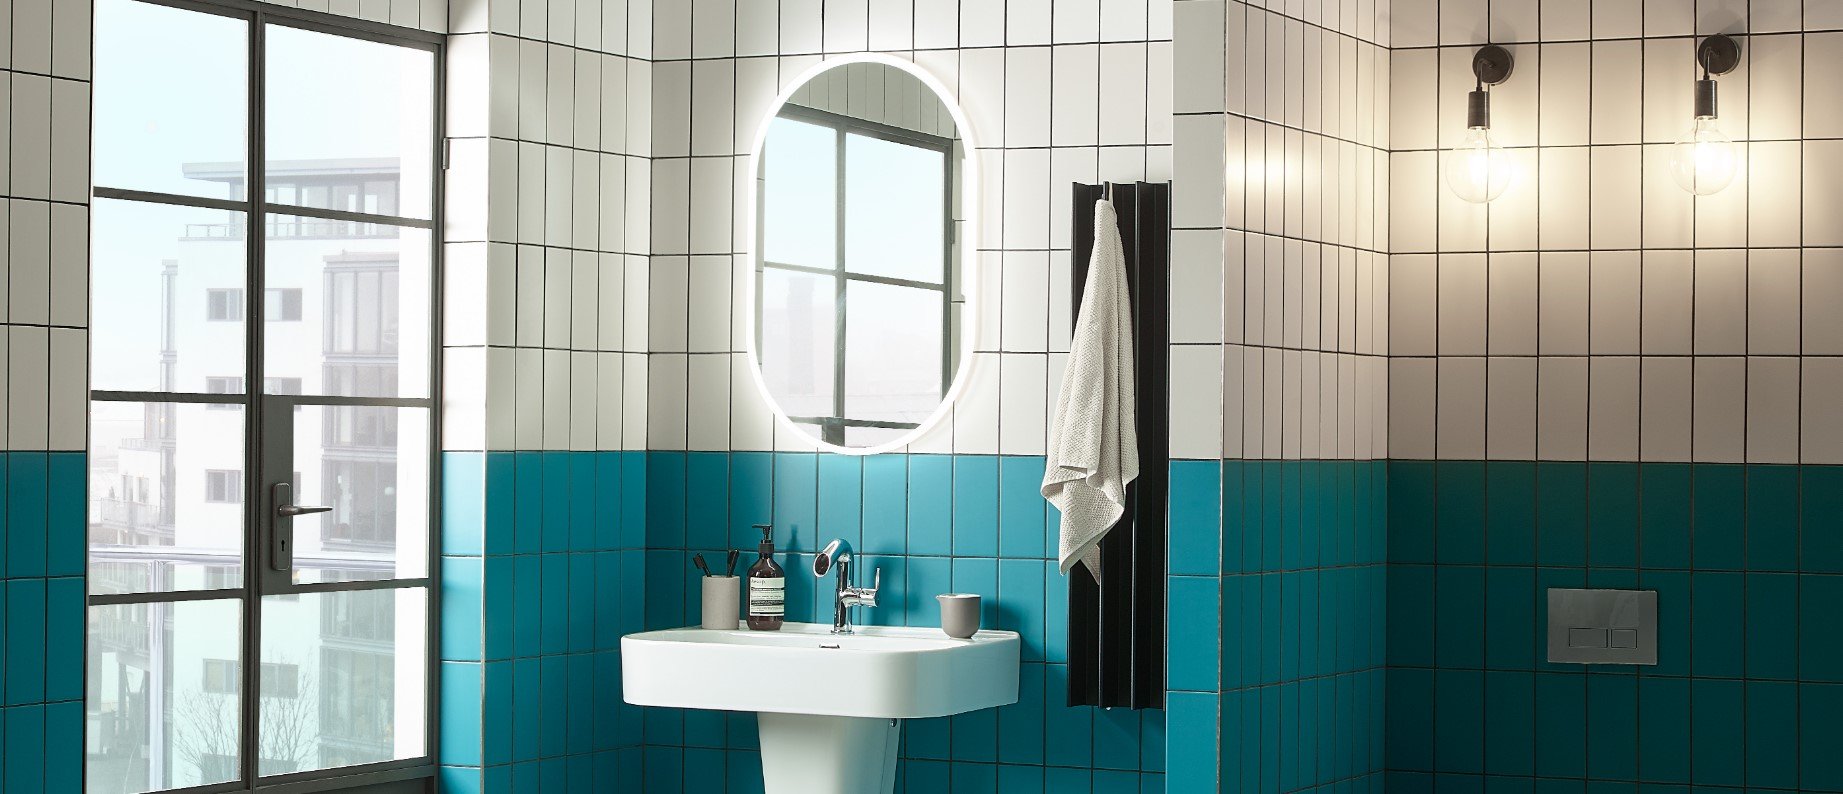
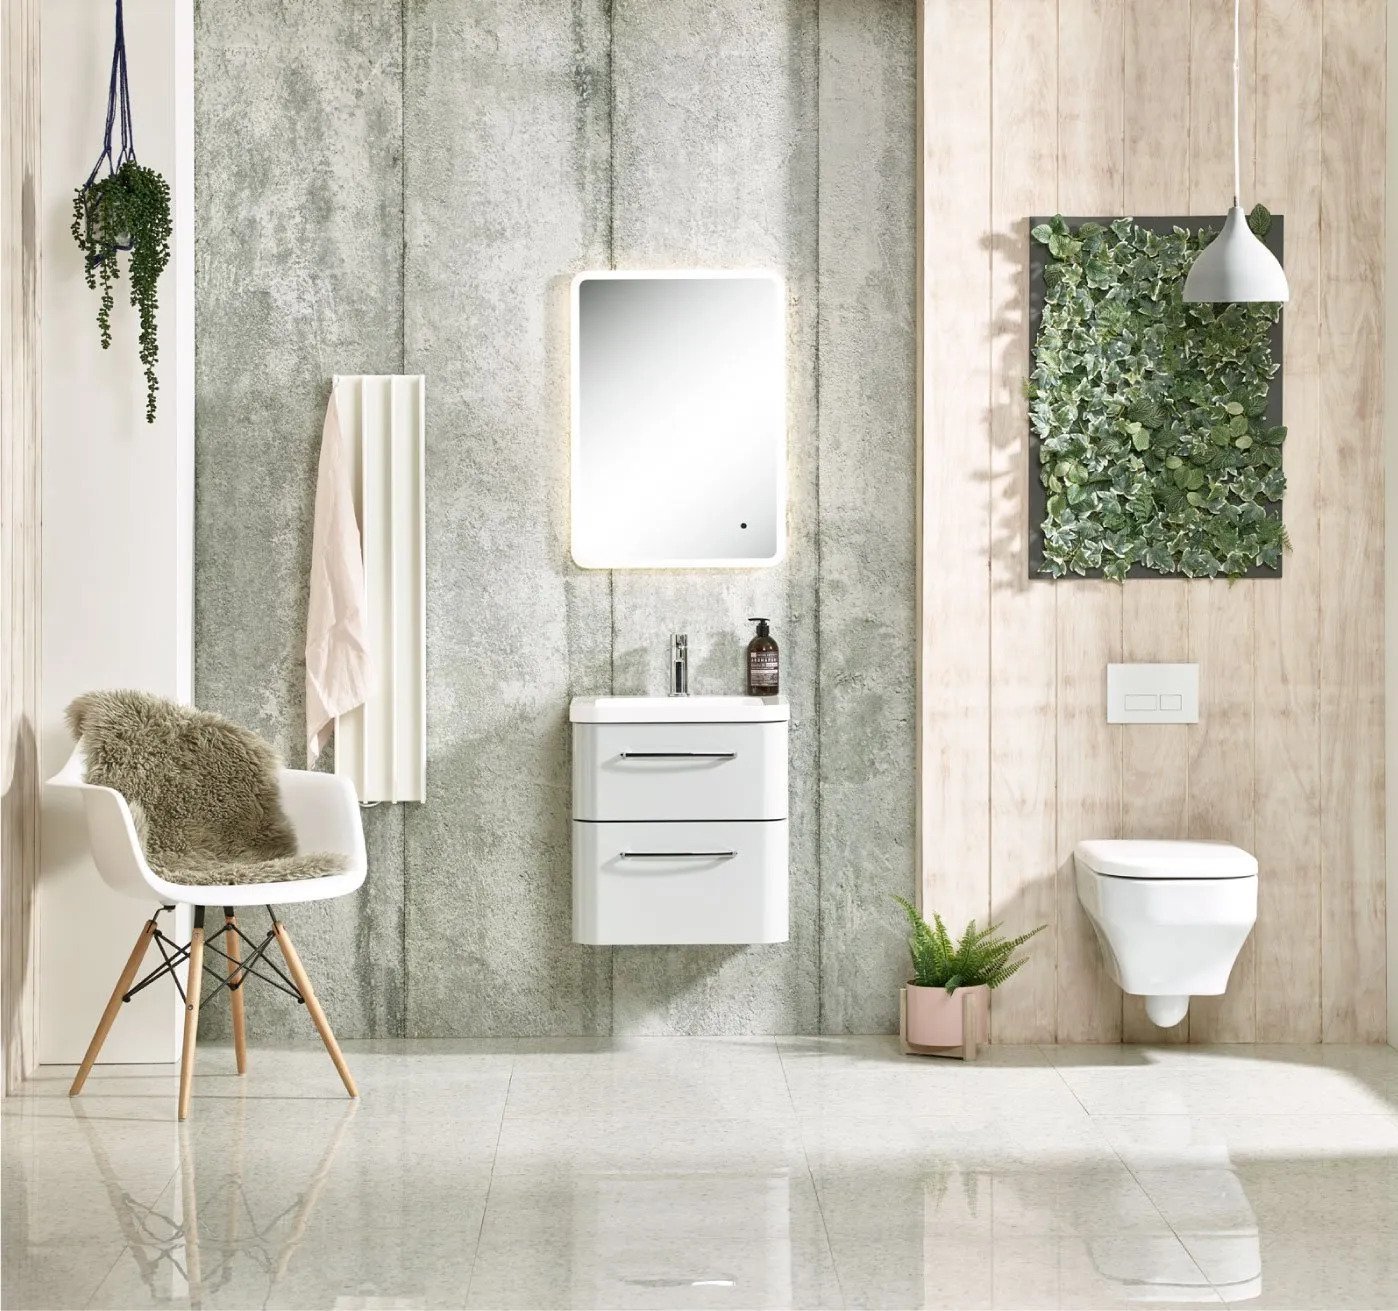
Gordon Towel Warmer
Main wall mounting bracket
Centre bottom bracket
Screws
Wall Plugs
Tools Required -
Tape Measure
Electric Drill
Screwdriver or electric driver with PZ2 driver bit
7mm Masonry drill bit to suit wall plug or screw size (Eskimo brackets will take screws up to 7mm in diameter)
This Product must be installed by a suitably qualified competent person as defined by the relevant standards in the country of installation. This is a fixed appliance
WARNING – This appliance must be earthed
The electrical installation of this towel rail must be carried out by a competent electrician in accordance with the current Regulations for Electrical Equipment. The towel rail is suitable for use on an A.C.~ electrical supply. Before installation check that the supply voltage corresponds with that marked on the rail.
IMPORTANT – The wires in the mains lead are coloured in accordance with the following code:
BLUE – NEUTRAL
BROWN – LIVE
GREEN/ YELLOW – EARTH
As the colours of the wires in the mains lead of this appliance may not correspond with the coloured markings identifying the terminals in your plug, proceed as follows:
The wire which is coloured GREEN and YELLOW must be connected to the terminal in the plug which is marked with the letter E or by the earth symbol or coloured green or green and yellow.
The wire which is coloured BLUE must be connected to the terminal which is marked with the letter N or coloured black.
The wire which is coloured BROWN must be connected to the terminal which is marked with the letter L or coloured red.
This appliance must only be used on A.C. mains supply of 220/240 Volts~ (Scroll below for US/Canada Variant)

Wall Mounting
Before starting work, ensure working area is free of obstructions and objects that could cause harm to you the radiator or the electrical power chord. Unpack Gordon carefully. If laying Gordon onto the floor place it with the back face to the floor, unless you can ensure that there is nothing underneath that could cause damage.
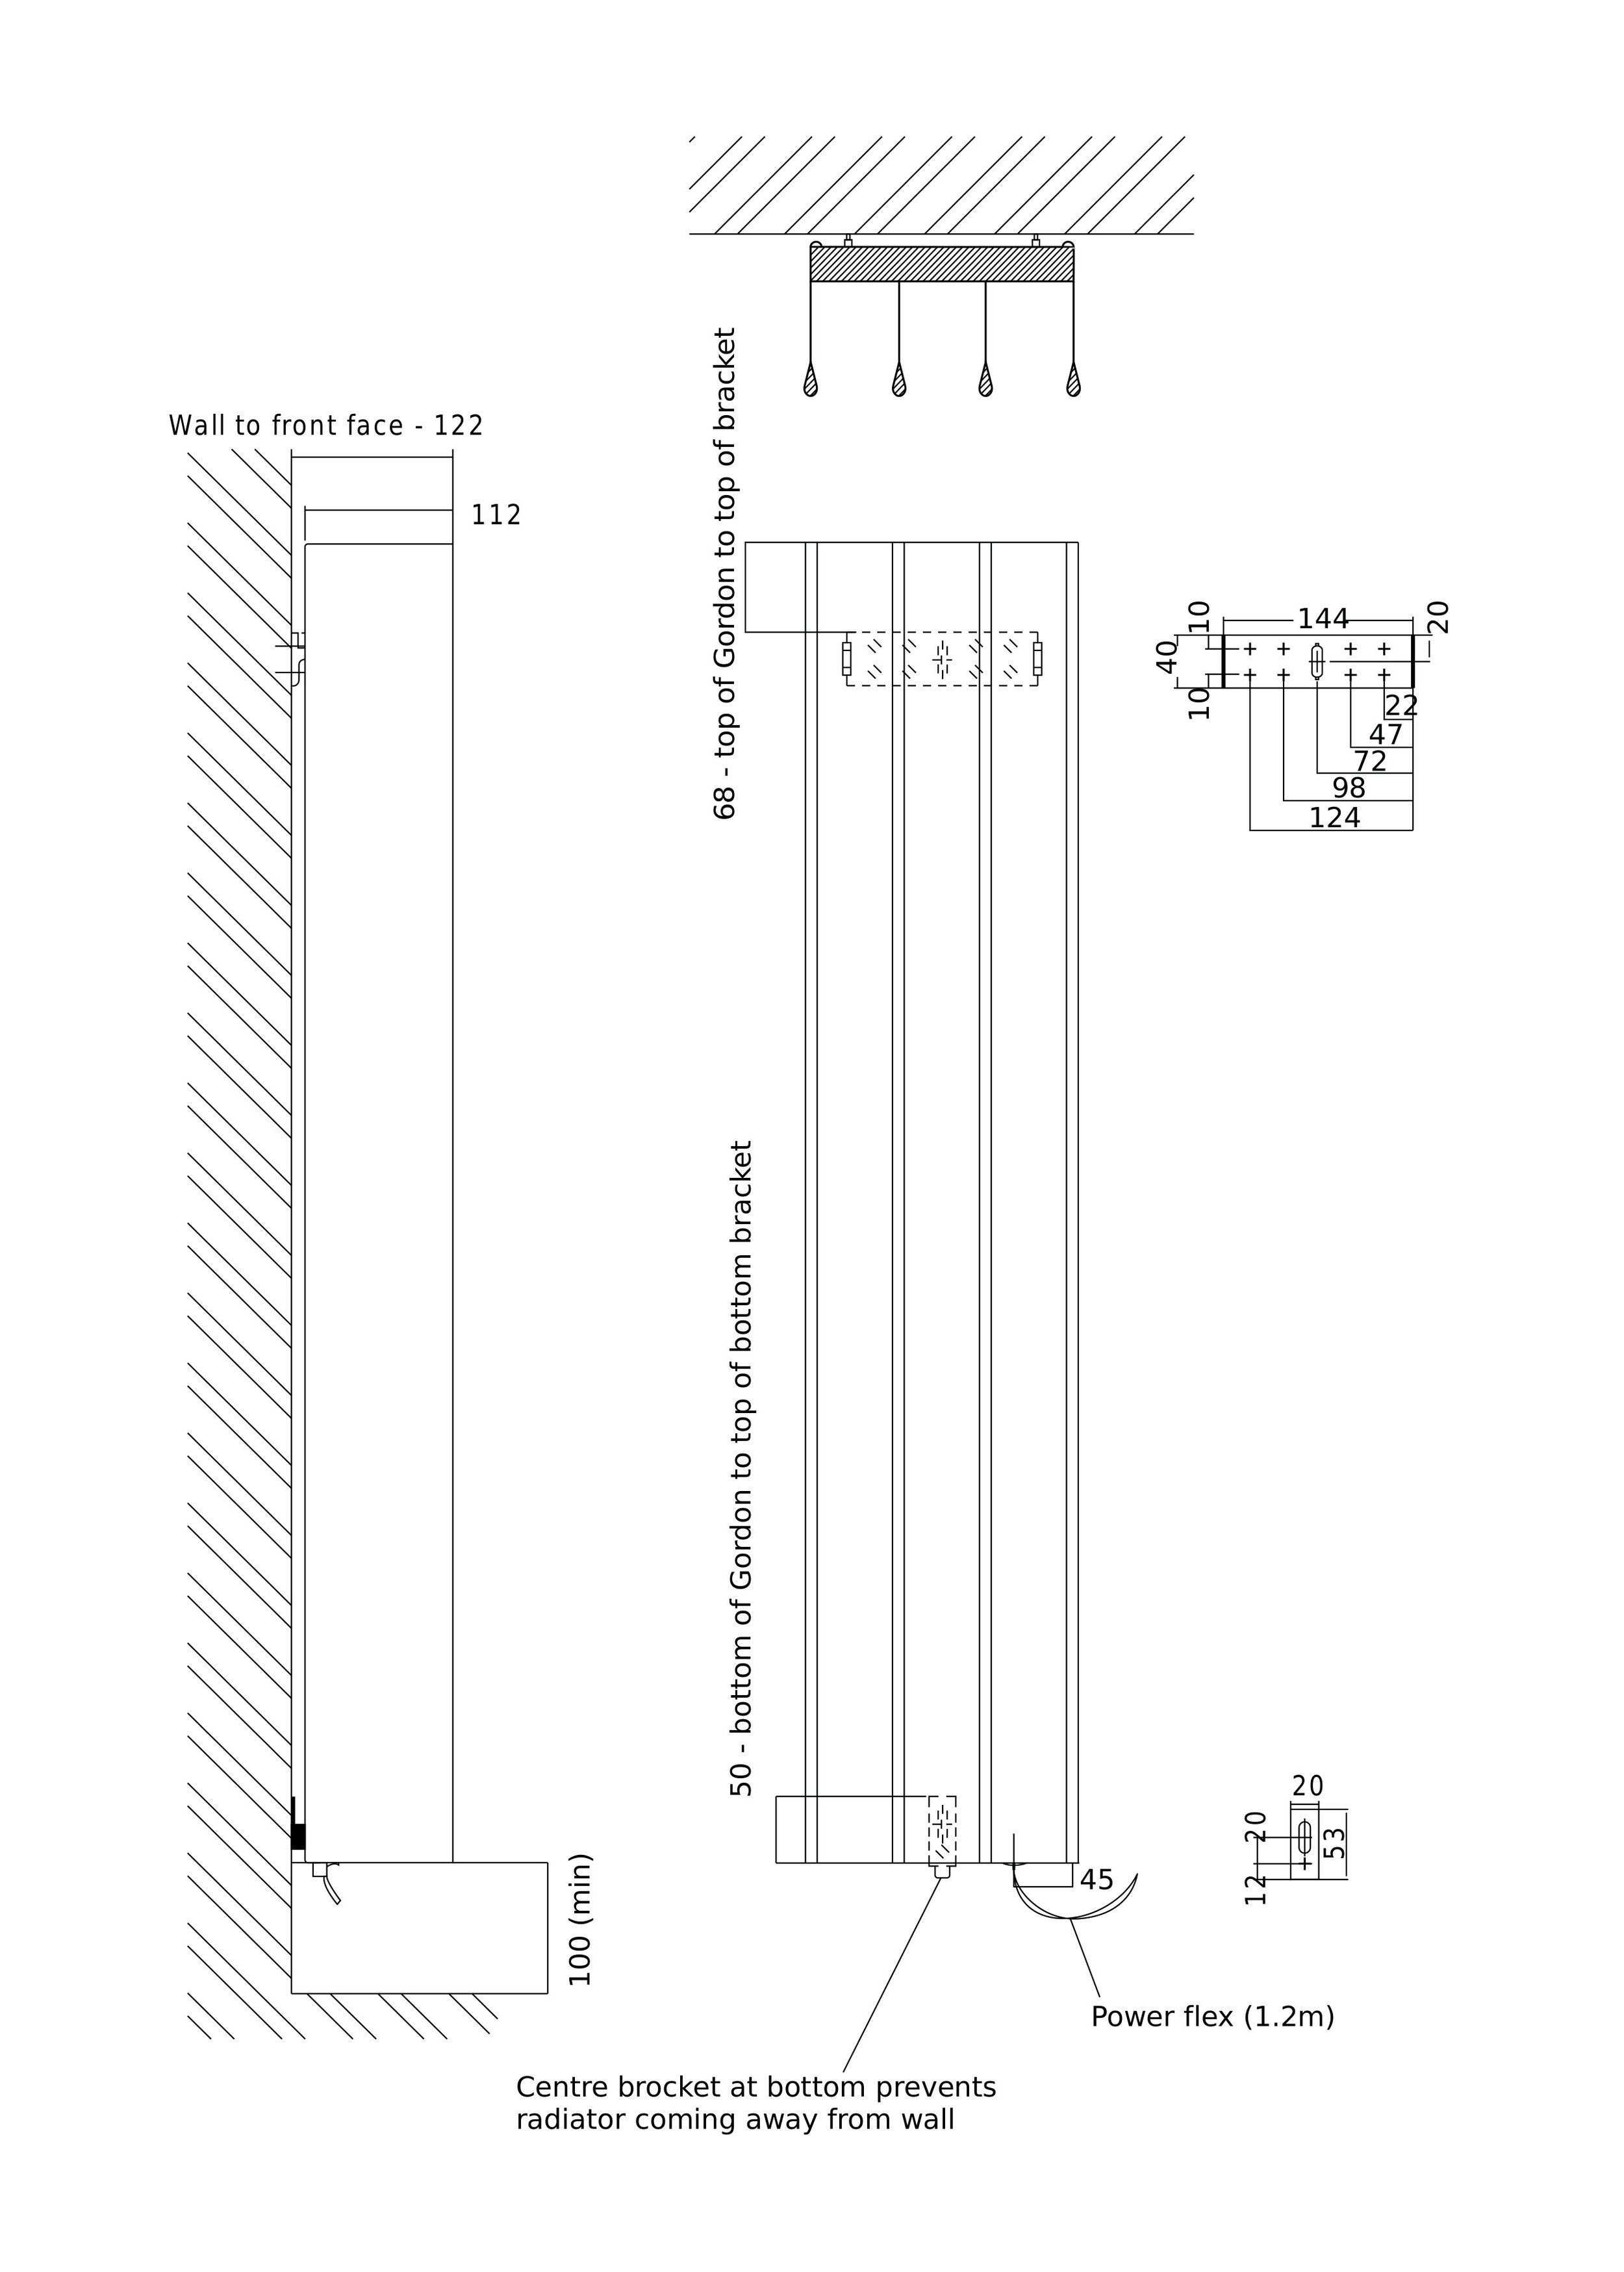
Mark the position of the top of Gordon on the wall, then locate the main wall mounting bracket.
The main wall bracket is mounted 68mm below the top of Gordon (see drawing) hold it in position and mark through the centre of the slotted bracket hole.
Using a 7mm masonry bit drill a hole in the wall to a suitable depth. Fit a wall plug into this hole. Now fix the main wall bracket through the central slotted hole using one of the screws provided. Do not fully tighten.
Adjust the main bracket for height and ensure it is level using a spirit level.
Using at least two of the hole positions on the bracket drill and fix the bracket firmly to the wall using the wall plugs and screws provided (we provide 8 holes to allow for a variety of fixing positions).
Now locate the centre bottom bracket, position this as shown on the drawing and fix the bracket firmly to the wall using the wall plugs and screws provided. The slotted hole can be used for initial adjustment prior to fixing through the remaining hole.
N.B. Bracket fixing positions are shown on the drawing above that will allow for pre-drilling of the holes if the product is not yet on site. Accurately mark out hole positions on the wall using a spirit level and tape measure.
Hang Gordon onto the main bracket ensuring it is fully engaged on the plastic spacers.
Using a 5mm allen key provided fix the centre bottom bracket to the radiator using the 6mm capscrew provided – this bracket is there to lock Gordon onto the wall and prevent it from being removed or knocked off the top bracket.
Wire radiator into a fused spur providing a means of isolation in accordance with current UK standards and regulations.
If installation problems arise, please contact the Eskimo technical department at 07595 592033.
Abrasive cleaners should never be used on Eskimo products.
Cleaning
The powder-coated finish on your towel rail can be maintained by occasionally wiping it over with a damp cloth and lightly finishing with a soft dry cloth. This should only be carried out when the rail is cold. Do not use abrasive cleaning powders as this could damage the surface finish. Avoid harsh chemical cleaners and do not use solvents or petroleum-based cleaning products – these can damage the coating of the Gordon and therefore reduce its service life. Essential oils, especially those containing eucalyptus, may harm the powder-coated surface – it is recommended that these are kept away from your Gordon.
Gordon US/Canada installaton instructions
Components in your box
Gordon Towel Warmer
Main wall mounting bracket
Centre bottom bracket
Screws
Wall Plugs
Tools Required -
Tape Measure
Electric Drill
Screwdriver or electric driver with PZ2 driver bit
7mm Masonry drill bit to suit wall plug or screw size (Eskimo brackets will take screws up to 7mm in diameter)